
We start this game in the Seven Pillared Hall. When we last left our adventurers, they had just returned with the slaves they had liberated from the Horned Hold. Among them was Sage and Delia Greyrood but Rena and Doty are still missing. From the other slaves you rescued you learned that Rena and Doty had been carried off by some Gnolls.
Later at the inn the goblin you rescued delivers a letter he was paid to deliver from a shadowy figure. The letter reads as follows:
Your actions against the duergar are commendable. I am in a
position of power in the evil organization behind the duergar’s
actions, and I wish to help you defeat my comrades. I have been
seeking a way out of the organization, and I believe you can help
me. Follow the attached map so that we can meet in secret.
The map shows a small chamber off the Road of Shadows just outside the Seven-Pillared Hall. You figure it’s likely to be a trap but you decide to walk in anyways.
When you arrive at the location indicated on the map. It is a natural
cave with a 10-foot-high ledge that runs around its interior
perimeter. Several large boulders crowd the area. At first, there’s
no sign of anyone waiting to greet you, but then suddenly creatures
spring out of hiding and attack. It’s a trap!
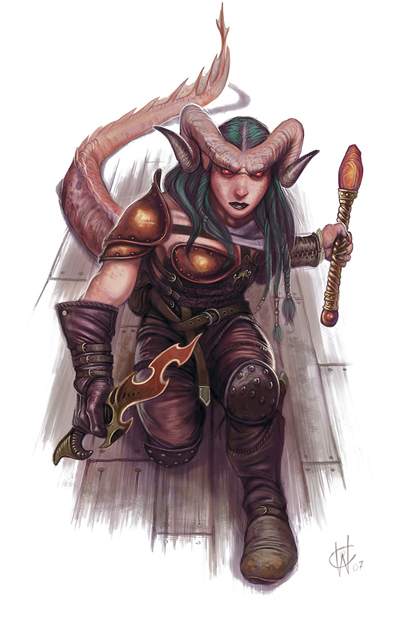 In the ambush two Tieflings fling fire at you while a Bronze Warder (Construct) pushes a large boulder to block the entrance and crush any in its way. The group wisely beats the Tieflings into unconsciousness and the Bronze Warder deactivates. Cleaning up the area one Tiefling is dead and the other is revived for questioning. The Tiefling says that a fate worse than death awaits her if she reveals anything and refuses to tell you how to use the command bracelet for the Bronze Warder. She then foams at the mouth as she has taken a magic poison capsule. You strip the bodies of valuables, the command bracelet and find some scrolls.
The first scroll reads:
I don’t care how you do it, but deal with these adventurers. Take
one of the bronze warders if you must. If they remain in the
Labyrinth, they could disrupt my plans. Once you’ve dealt with
them, deliver their bodies to our gnoll friends, along with the
enclosed scroll.
Paldemar
One of the scrolls has a wax seal bearing an ornate letter “P.” The scroll reads as follows:
To Maldrick Scarmaker, Exalted Chieftain of the Blackfangs and
Chosen of Yeenoghu: Paldemar offers you the corpses of these
champions as a gift of ongoing friendship, that our arrangement
might continue to be mutually beneficial. May you savor their
blood.
Your friend and ally,
Paldemar
The final scroll bears a map of the Labyrinth that has directions to the Well of Demons, which is circled and marked with the word “Blackfangs.”
The Well of Demons
The Well of Demons was once a monastery dedicated to Baphomet, demon lord of berserkers, destruction, and mindless fury. The minotaurs of the Labyrinth worshiped Baphomet above all other gods, devils, and demons. The Well of Demons was an isolated complex used by Baphomet’s priests to test those who wished to gain the demon lord’s greatest blessings.
The group heads to the Well of Demons to free their remaining friends and family. As you near the entrance you see:
You see a large, square chamber. Five columns, three set near the room’s corners and two in the middle of the chamber, rise up 15 feet to the ceiling. Each column has the face of a leering, fanged minotaur carved onto it. You notice a well in the southeastern corner of the room, and one passage leads away to the east.
The columns speak a few seconds after a creature enters the room. A listener hears the message in his or her native tongue, spoken in the deep tones of a powerful minotaur:
Greetings, seekers of Baphomet’s boundless glory.
Those who prove unworthy of his attention
Shall be claimed forever as his slaves.
Those who prove worthy
Shall be granted power beyond mortal reckoning.
Mask, bell, blade, and tome
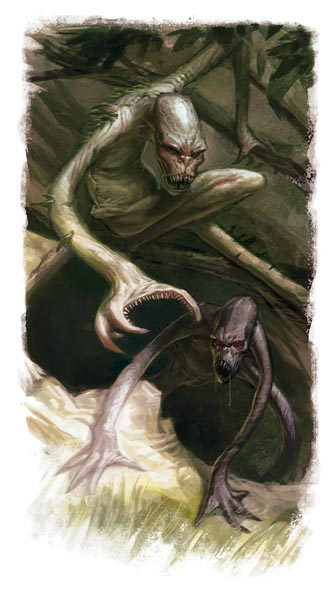 You see some creatures skulking behind the columns. Shawna runs in and shoots but then has creatures reach out long arms on both sides to choke her. Everyone else runs in and helps defeat the Cavern Chokers, Ghoul and Phalagar inside that were waiting as a greeting party.
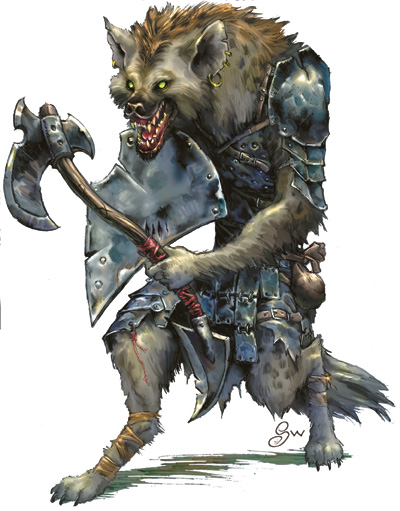 Heading to the east you find a door and after listening you hear the yipping sound of some Hyenas far on the other side of the room. Quinn, Shawna and Ket sneak in using stealth to achieve a surprise for some Gnolls dicing in a room near the door. The Gnolls cry out alarm and the Hyenas are released to join the attack, along with their Huntmaster. A hail of arrows, a blast of fire and some hard hitting attacks quickly make the group fall to your onslaught. At the end of the fight you take a short rest and loot the area.
During the rest Kitsune is fiddling with the command bracelet when it pops open again. It had previously opened and then closed upon the death of the previous owner. Kitsune instinctively places the bracelet on her wrist after which it closes without leaving a seam.
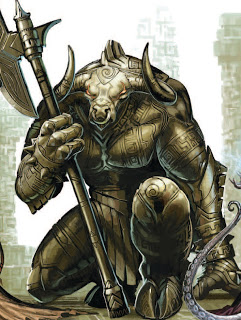 You suddenly hear a loud thunder as if a herd of bison was heading down the hall. The Bronze Warder charges into the room, as you lift your weapons the Warder comes to a halt and kneels. With it’s monstrous head bowed before Kitsune it says, “COMMAND ME!”
3 XP for the night.
The next game we will just switch to your level six characters.
Who is Paul Darr?
 Paul Darr has lived in California, Oregon, Colorado, and currently lives in San Antonio, Texas. Paul is also an Army Veteran, who has deployed to Iraq and Afghanistan. On the political spectrum Paul is a Libertarian that advocates fiscal responsibility and social tolerance. Paul is currently employed as an IT Manager and is a father of a handsome boy and beautiful daughter. In his free time Paul enjoys reading, using and modifying open source software, gaming, and several other geeky pursuits.